Showing posts with label Feeling Crafty. Show all posts

Friday, 22 June 2012

Little Monsters


I made these two little Monsters for two very special little people


This is little Monster Maeve...


 and this is little Monster Leo...


and here are the real, adorable twins,  Leo and Maeve....seriously, how gorgeous are they?


Maeve with her little Monster! I'm so glad they like them...

x


Monday, 11 June 2012

Cup Cosies

I'm not one to brag.....


but I'm about to.


I'm not sure what happened to me yesterday, but I had some sort of creative surge.  As you may remember I am fairly new to the world of crochet, so new in fact that I can only do the basic chain stitch (although I am currently in the process of learning the 'Granny Square')


A while back I saw some knitted little mug warmers which I instantly fell in love with. I really wanted to have a go at making one but didn't have a clue where to start.  But yesterday whilst I was watching Ellen, Inspiration struck, right out of the blue. So before I had time to talk myself out of it, I grabbed a mug, my crochet hook, some wool and got started right away.


Now this is where the bragging comes into it. I had no pattern to follow or no example to look at, nope I just went with it and hoped that it would work......and surprisingly,


It did!


and the great thing is that they don't take long to make. I knocked these two up last night in a few hours! are you impressed?

OK, bragging over now, I'm off to attempt to make a tea cosy to go with my toastie little cup cosies...

x

Monday, 21 May 2012

Crafty Club: Mask Decorating

Last weeks Crafty Club was held at Jen's house as my house is still covered with unpacked boxes.  For the next few meetings of Crafty Club we are all taking it in turns to choose a project. This week Jen chose mask decorating.

(Vicki & Maria begin painting their masks)

I don't think any of us really planned on how we were going to decorate our masks so we all just kind of got on with it and hoped for the best.

(Jen's cat Merlin wanted to be involved and did so by walking and rolling all over Vicki's materials for the night :0)


We did stop a little way in to discuss how we thought our masks were taking shape....Maria took this opportunity to hang jelly snakes from her mouth whilst contemplating her next step.

And here are our finished masks...


This is my mask, which I personally think is a little bit creepy...it currently lives on a shelf at the back of our garage where I can't see it!


Marias' mask... yep also a bit creepy if you ask me although it looks a lot less creepy now that it's decorated believe it or not.


Jen's cute little cat mask...the less creepy of the four :0)


and Vicki's mask, which she didn't completely finish as the plan was for her to cover more of the mask with the coloured diamonds but she lost her mojo understandably after the pizza arrived!

Next week is Vicki's turn to choose a project...I'm looking forward to it already!

x

Tuesday, 6 March 2012

For Aunt Doris With Love


It's my Aunt Doris' 92nd birthday next week. I wanted to make her something small that I could send over to blighty. I thought about making her a little scented door hanger but then I remembered seeing some lovely little pin-cushions on Helen Philipps blog a while back which I thought would be perfect.


I chose a nice light and airy fabric from my ever growing stash and once made, tied it with a lovely pale blue satin ribbon.  I made the little gift tag simply by cutting out a piece of card, stamping a hole in one end and sticking a small piece of fabric onto it using PVA glue.


I love it...I hope she does too!
x

Monday, 27 February 2012

So simple, yet so effective...


All you need to make a similar fabric card is:
  • scissors
  • pretty fabric
  • a plain card and envelope
  • needle & thread.
  • cut the fabric slightly smaller than the card
  • stitch the fabric all the way around. You can do this by hand or by using a sewing machine. It really doesn't matter if the stitching isn't perfect...
  • finished! (I told you it was simple didn't I?)

These cards are fun to make and will save you lots of money in the long run.

Have fun!
x

Monday, 6 February 2012

More New Stuff...


New shabby little door hangers...


I love these and think they will look very cute hanging from door handles or school bags.


I had lots of scraps of fabric so little pin cushions seemed like a good idea...


and here is a pretty bunting cushion to add to my new range. 


Oh and I also made some little gift tags for all my new cushions.


Not bad for a day's work is it?

x

Thursday, 2 February 2012

New Stuff...


Sometimes, all I want to do is paint, and some times all I want to do is sew. I had a sewing day yesterday and made these cushions to hopefully sell at the market.


I wanted to make cushions for children's rooms but didn't want to use really bright and bold colours. I found these gorgeous fabrics which are more subtle with a bit of an old fashioned feel.  I decided to make a little matching stuffed heart for each one which could hang on a door handle or be attached to a school bag perhaps.


I'll also be selling these through my Etsy shop which will be up and running soon.

Happy Friday everyone!
x

Thursday, 12 January 2012

Queen of Crochet?

Hmmmm maybe not!!!

I thought I would give you an update on how my crochet blanket is coming along. So, here it is...


What do you think? Not bad for my first ever attempt at crochet is it?

Now, there is a very good reason why I am not showing the ends of my blanket and that is, quite simply because they are a bit crap.
I know I should get over myself and display my errors but I just can't bring myself to take photos of such shoddy work....

I am a bit of a perfectionist when it comes to creating and so as you can imagine I am tres annoyed at my wonky ends and am hoping that one of my friends who can crochet will be able to advise me on how to create a fabulous border once I'm finished in order to disguise my wonky donkey edging.

Some sections of my edging are very nice and neat and straight(ish) but other parts are so wonky it looks as though I have changed my mind mid blanket and decided to add a wavy border.

Anywho, you will be pleased to know that for the past 10 or so rows my edging has straightened up nicely so as long as I keep this up it shouldn't look too bad once it's done....

Here's hoping!
x

Friday, 6 January 2012

Brainache!

Today has been a 'fidget' day. I can't stop pottering about and my mind has been racing 100 miles per hour. 

You see, I've been thinking about all the things I want to achieve in 2012 (the start of a brand new year can do this to you)

Things I want to happen include: starting an Etsy shop, finishing a children's book I have been working on for the past few years (well its been on the back burner for the past year so really I've only been working on it for a year... which isn't too bad I guess?) putting together some rough illustrations to go with it, organise my time better, speak to some local shops about stocking some of my work... the list is endless .

Anyway I decided I needed to stop thinking about all of that rather daunting stuff (once my temples started to pound) and decided to make a cushion (I know I'm predictable) 


I plugged in my beloved Dotty and got to work right away...


Oh how I love my sewing machine, I really think there is such a thing as sewing therapy.   I inhaled the lovely aroma of Dotty as she worked away and felt instantly better (those of you who have a sewing machine will know exactly what I'm talking about, those of you who don't are forgiven for thinking me a bit of a weirdo!)


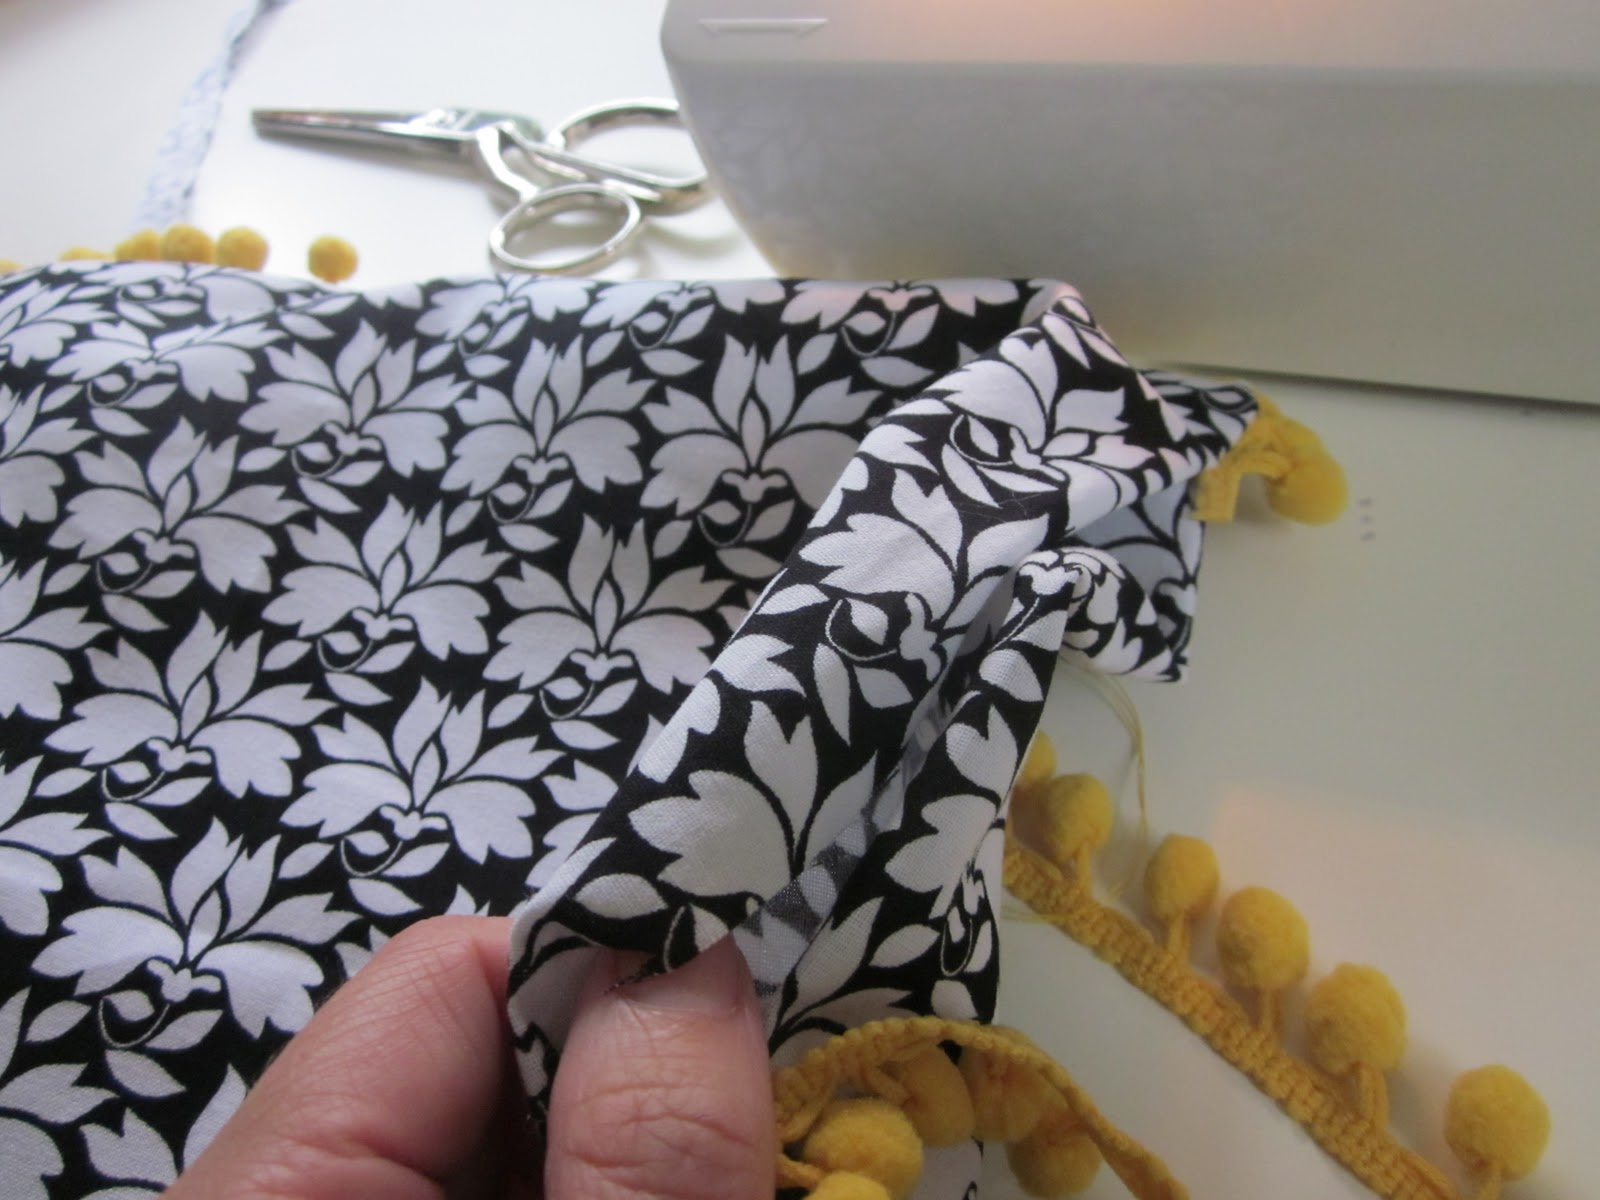
I love using pom pom trims, and really like this yellow next to the black and white. Lovely.


So, now I am about to make dinner (another distraction thank goodness) or maybe I'll just make another cushion??

Hope you are all having a lovely weekend
x

Wednesday, 14 December 2011

Christmas Sparkly Shells

I was on babysitting duty yesterday...although I shouldn't really use the word duty as I love having my 3 year old nephew, Billy and one year old niece, Rose. They are so much fun and have me in fits of laughter all day. 

Whilst Rose took a nap me and Billy decided to paint some shells to make them look christmassy.  I already had a bag full so we chose some nice big ones and got to work....
We used gold paint (Tip: Never let a 3 year old squeeze paint from a  tube!!!)
and painted the shells all over...
then we sprinkled them with gold glitter ....

It was so much fun...
and nice and messy....

Once they dry we are going to wrap them up in a box for Mummy for Christmas! I think they will look lovely scattered around the Christmas table or maybe we could tie them onto the napkins with string? either way I know she'll love them!

x

Monday, 12 December 2011

Little Fabric Hearts!

I've been making little fabric hearts for my Christmas tree. They look so effective and are really quick to make (which is a good thing as I have had to make 20 to get the look I wanted!!)

Here's how...

You need: Fabric, scissors, a couple of pins, needle and thread some stuffing,  half a heart shape cut out of cardboard and some string
Fold over your fabric and cut around the cardboard to make your heart shape
Open up your heart (for it is Christmas after all!) and pin it onto the back of another piece of fabric
Take a piece of string and make a loop, tying a knot at the bottom of it
Place your string in between both pieces of fabric
Starting from the top of your heart (and placing the knot of your string just below your first stitch) stitch evenly around the heart making sure you leave a big enough gap to be able to put your stuffing in.  I have hand stitched my hearts but you could use a sewing machine to speed up the process.
Once the stitching is completed, stuff the heart (I have used Polyester stuffing but you could use old scraps of material or cotton wool if you don't have any)
Once the heart is nicely stuffed, finish off the stitching
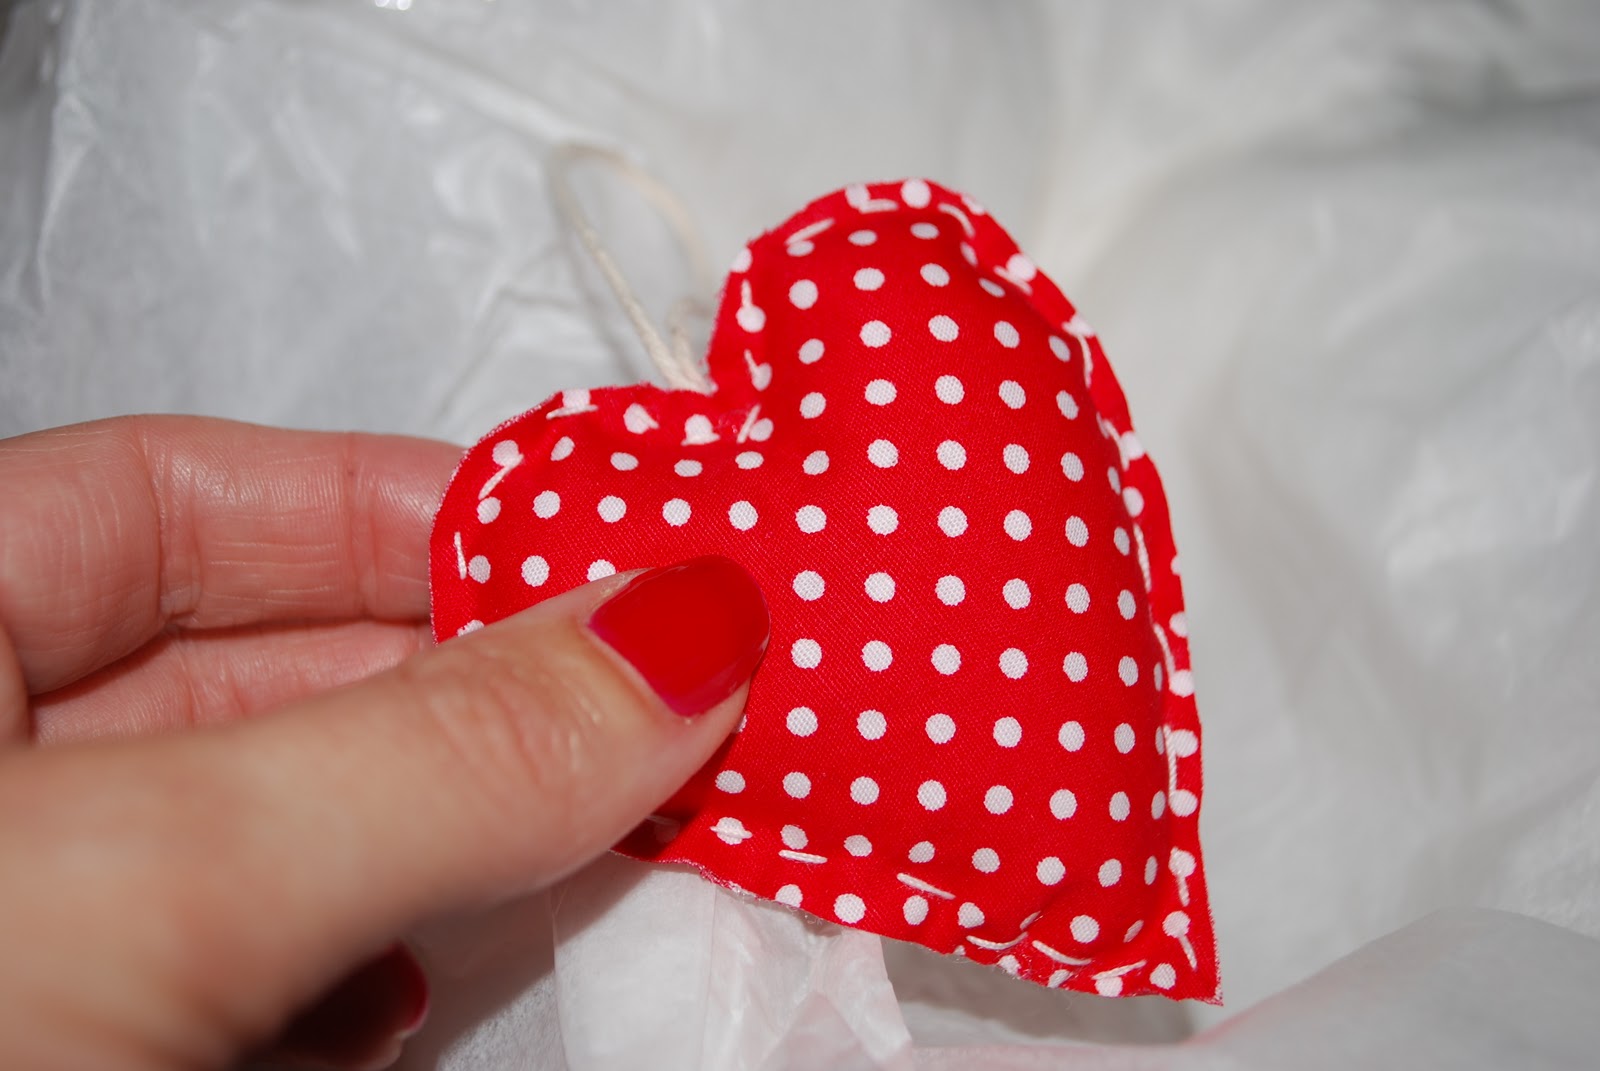
It really doesn't matter if your stitching is not perfect (as you can see from the one above) these little hearts look great a little shabby...
Holding your string against the heart so that you do not accidentally cut it off (I'm talking from experience here) cut around the outside of your stitching...again this doesn't have to be perfect.
And there you have it! 
I have kept my ones quite plain, but you could always add a ribbon around the top of the string, or use a different coloured fabric for the back... the options are endless!
Have fun!
x